There are few things more important than the trigger when you are shooting. It stays in the forefront of the mind at every step of the firing sequence. You make sure to keep your finger off it when drawing or aiming and ensure the proper squeeze when firing. So, why is it something we accept as a stock part? Many people would rather buy magazine extensions or colorful magazine releases or backplates before ever considering a trigger upgrade.
With so many different manufactures of aftermarket triggers it can be over whelming to choose the right trigger. One of the most important things you may want to consider when purchasing the trigger is who made it? It seems simple but it can be a money saving time investment. If you are looking at a trigger and don’t recognize the name, then pop it into a google search and read some reviews not on the purchase site. Look at multiple products from that company and see what kind of quality you can expect. The next thing to keep in mind is additional parts included with the trigger. I like a kit that includes a disconnect and safety plunger for the slide. This gives me confidence that these parts will work together. In addition to all these criteria, look at the seller of the product. A good seller with a sound reputation will always get my money before a no-name place even if there is a slight price bump. This is a peace of mind that if something goes wrong, I can make a phone call and find out why.
Now, when you go look at trigger upgrades for your Glock you are going to notice a few things: there are more choices than one could believe, every one of them is the best trigger on the market according to the advert, and they are seldom considered cheap. This begs the question, why do it? Why spend all this money on a new trigger when the one I have already works? But does it? A good trigger upgrade should be light enough to not disturb the sight picture as it is pulled. It should be shaped in a way that allows the shooter to index the same point of the trigger every time. A trigger should not stack weight during the pull. Above all there should be a noticeable point where you know the trigger is going to break (the wall) and a very noticeable reset point. A good trigger will not feel like there is sand inside the gun (unless there IS sand inside the gun). If your trigger can not do all of this, then it is time for an upgrade. Your trigger is the most important line of communication between you and your handgun, clearing up this communication will only make things easier and better. You wouldn’t stick with a cell phone company if you got static with every phone call. Why deal with it in your trigger?
When you look at your Glock and think of swapping a trigger then it must come to mind that you will need to find a gunsmith and add that fee to the price. Also, while the gunsmith has everything out you might as well pay them to clean out from under the trigger and block. Now you must add that fee and wonder if you can try to negotiate the price of all of this if you do it together. It can be a headache, or you can do it yourself. Its not a hard job and it will help you get down into those hard to clean areas and scrub them out to make a nice home for your new trigger. Now its one thing for me to sit here as a gunsmith and tell you it is easy, but I assure you that you can do it. With all things there is a disclaimer that you should not attempt to do anything to your gun that you are not comfortable and confidant about doing. There is no shame in that. Now let us see how simple it really is.
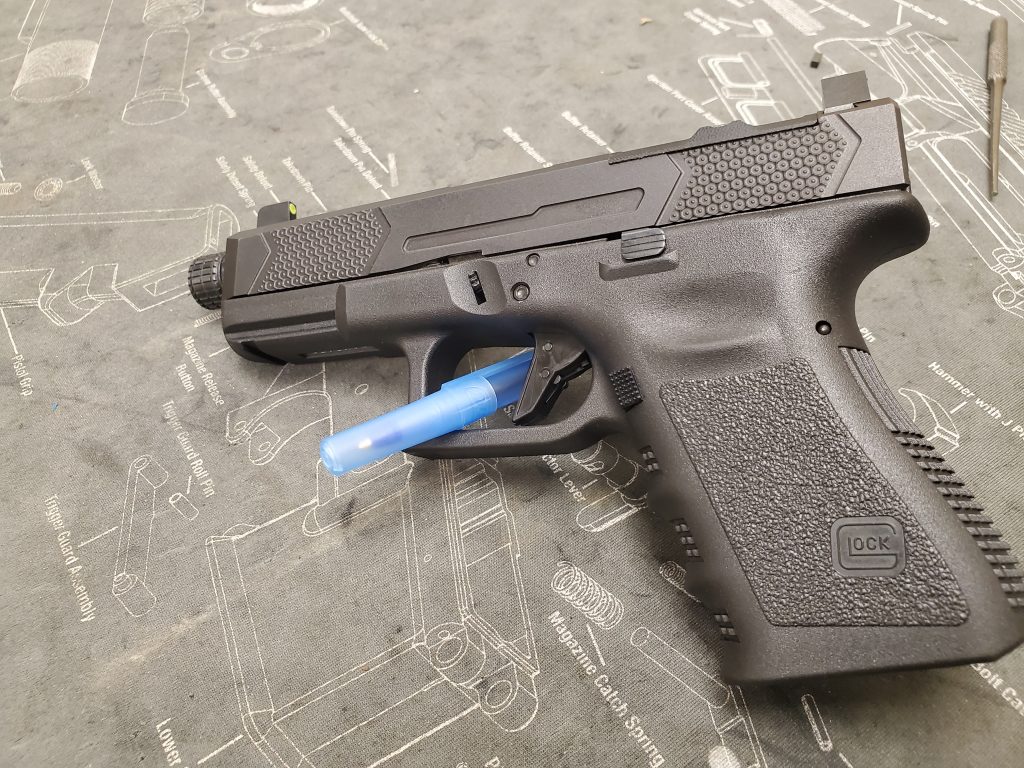
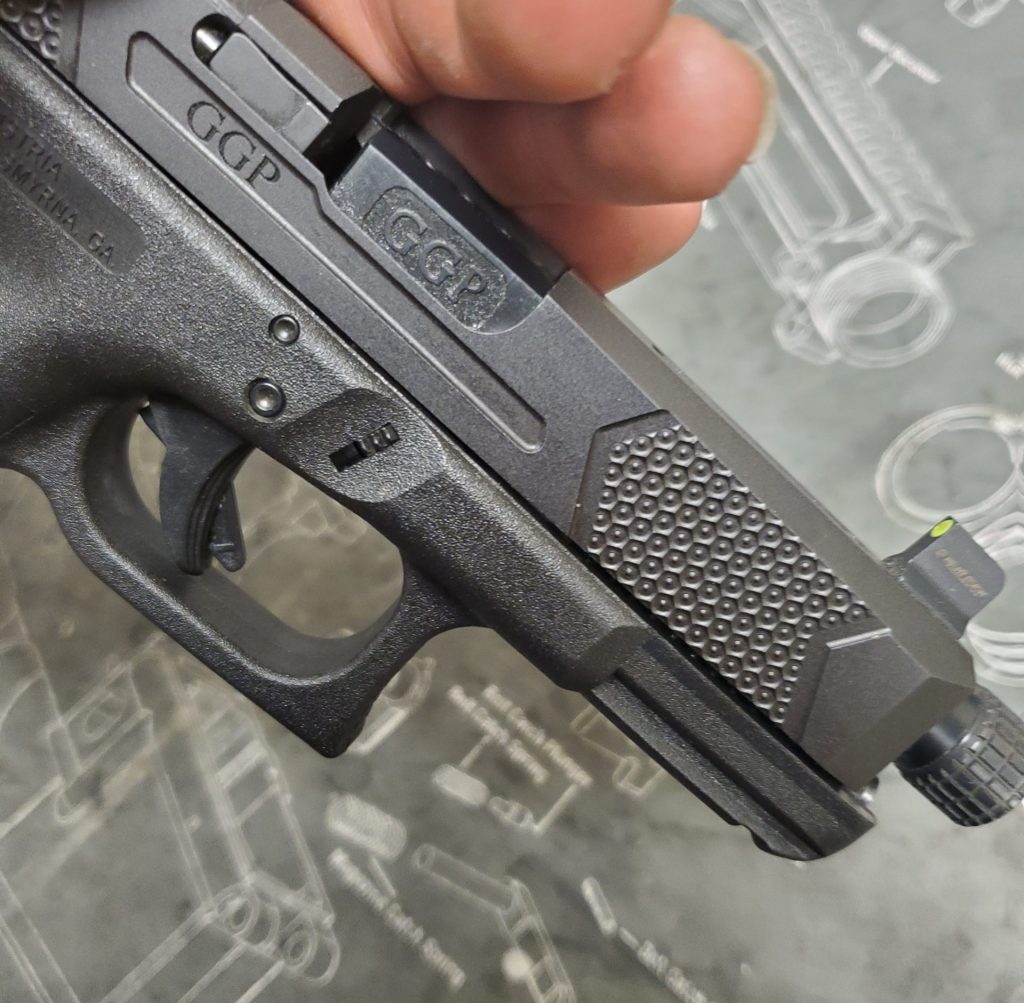
To start I want to say that we are only looking at the trigger here. The safety plunger is a slide component and we won’t be covering that this time. I prefer the aluminum, flat face, APEX trigger in my gun. In this case we are going to be swapping the stock trigger with a Polymer80 flat face trigger. The process will be the same for almost all Glock triggers.
Step 1: Make sure the Firearm is Clear (Not Loaded)
This is a critical place to start with any firearm before any trigger upgrade. To repurpose smokey the bear’s phrase “only you can prevent NDs”.
Step 2: Tools Needed
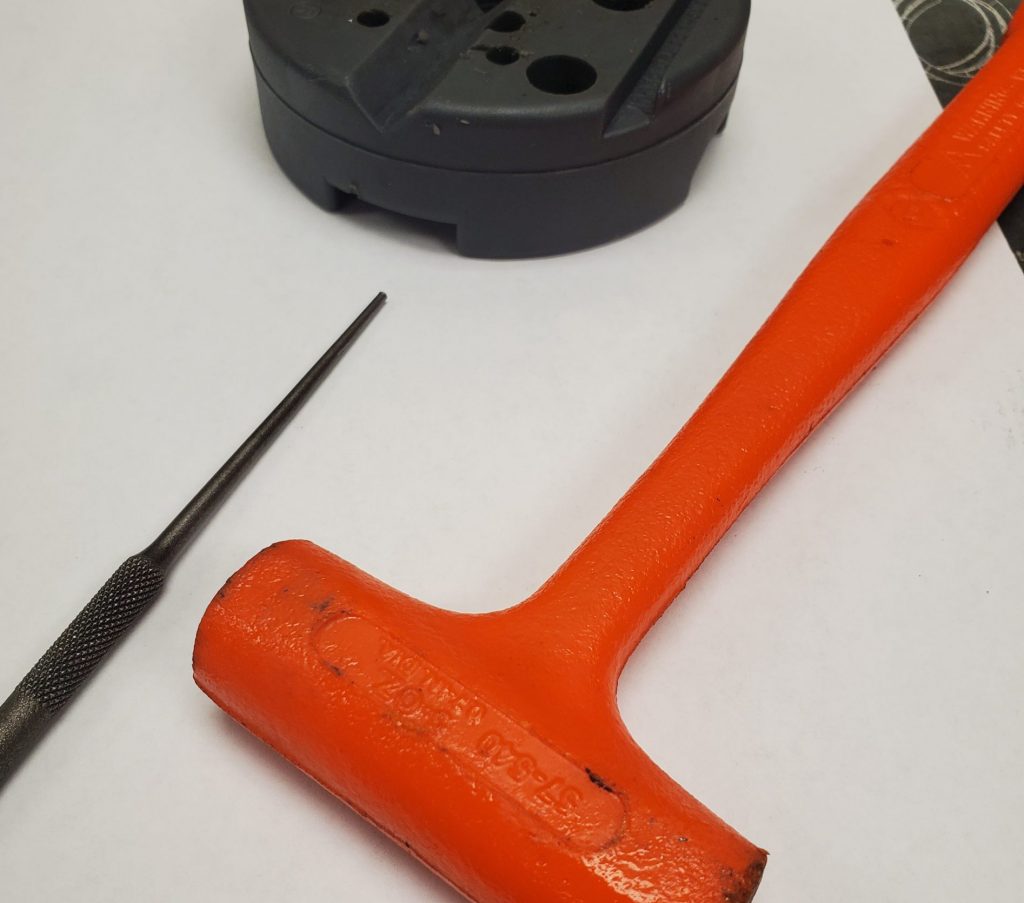
There is only one tool that is really needed the other two are nice to have in a pinch. The long punch is what I use as the critical tool. If you don’t have a punch like this, then a hex wrench will work. If you elect to go that route, then please make sure that it is a smaller diameter than the pins. If it is bigger it will not work and will damage the opening of the holes in the plastic. The hammer and bench block are a good back up plan if things get a little squirrely during the removal.
Step 3: Slide Removal
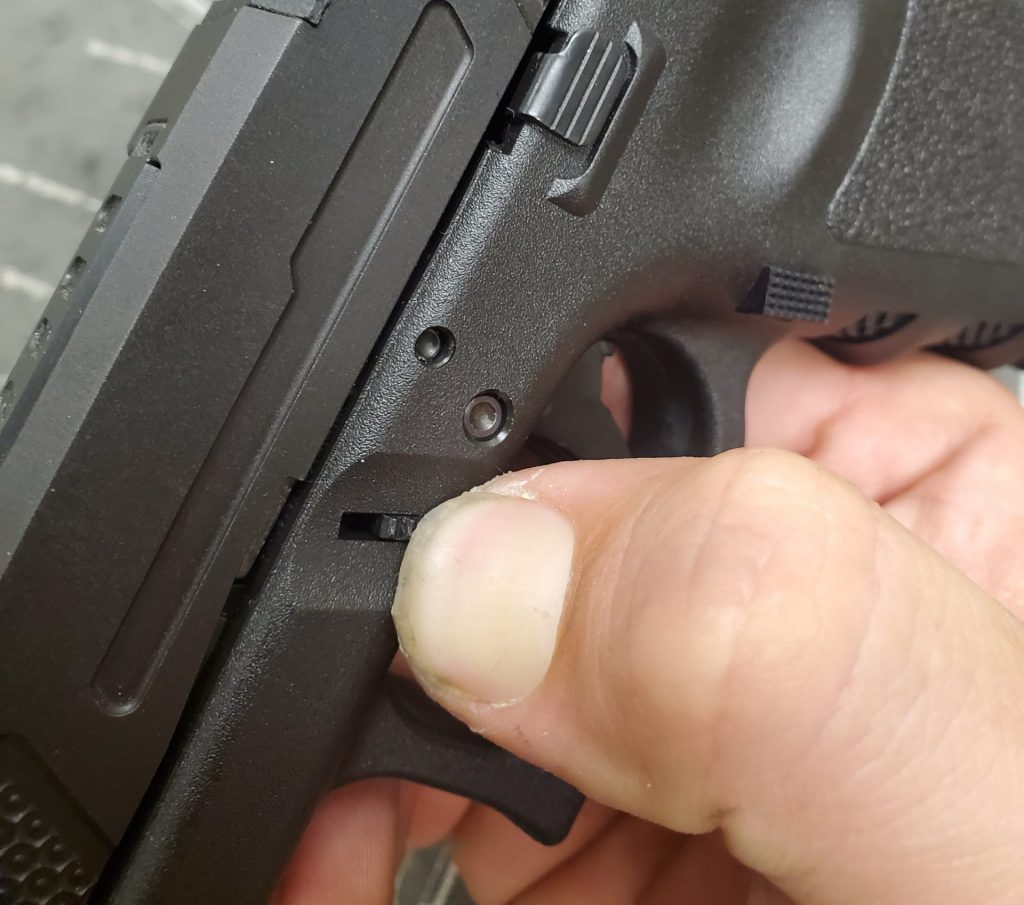
After clearing the firearm again, make sure there is no ammo on the table or in the immediate area. Pull the slide back slightly and hold it there.
Pull down on both sides of the take down bar (little tabs in front and above the trigger). Once you have the take down bar lowered you can release the slide and pull the trigger (now you see why clearing is important). From here, you can pull the slide off the frame of the firearm.
Step 4: Pin Removal
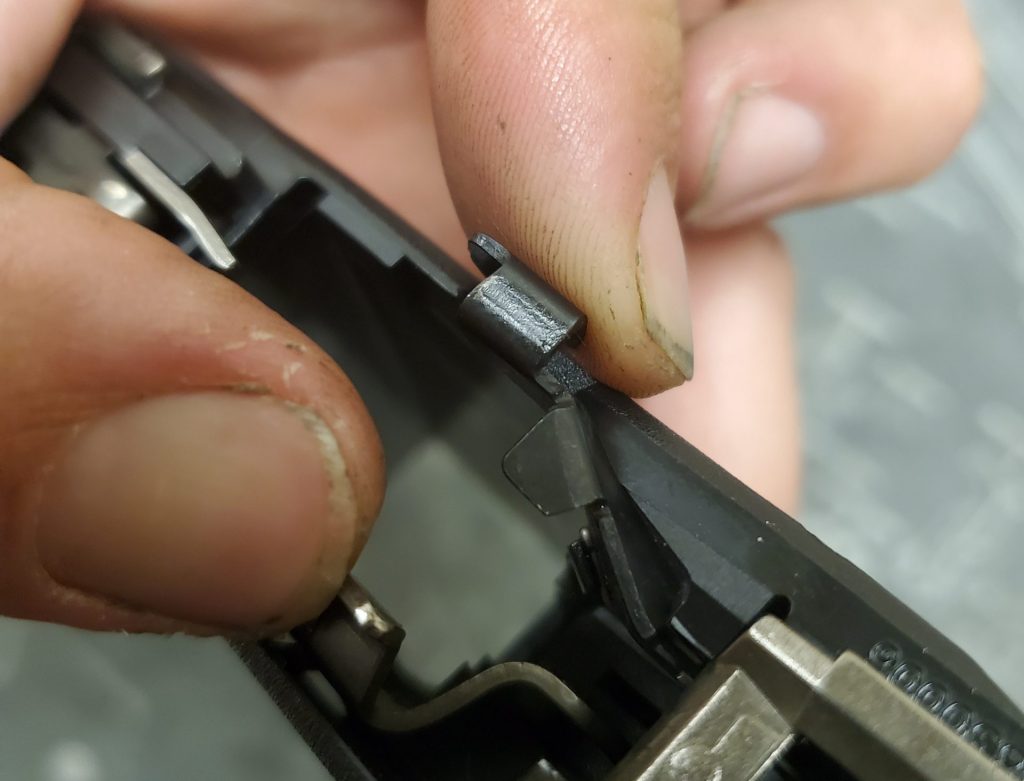
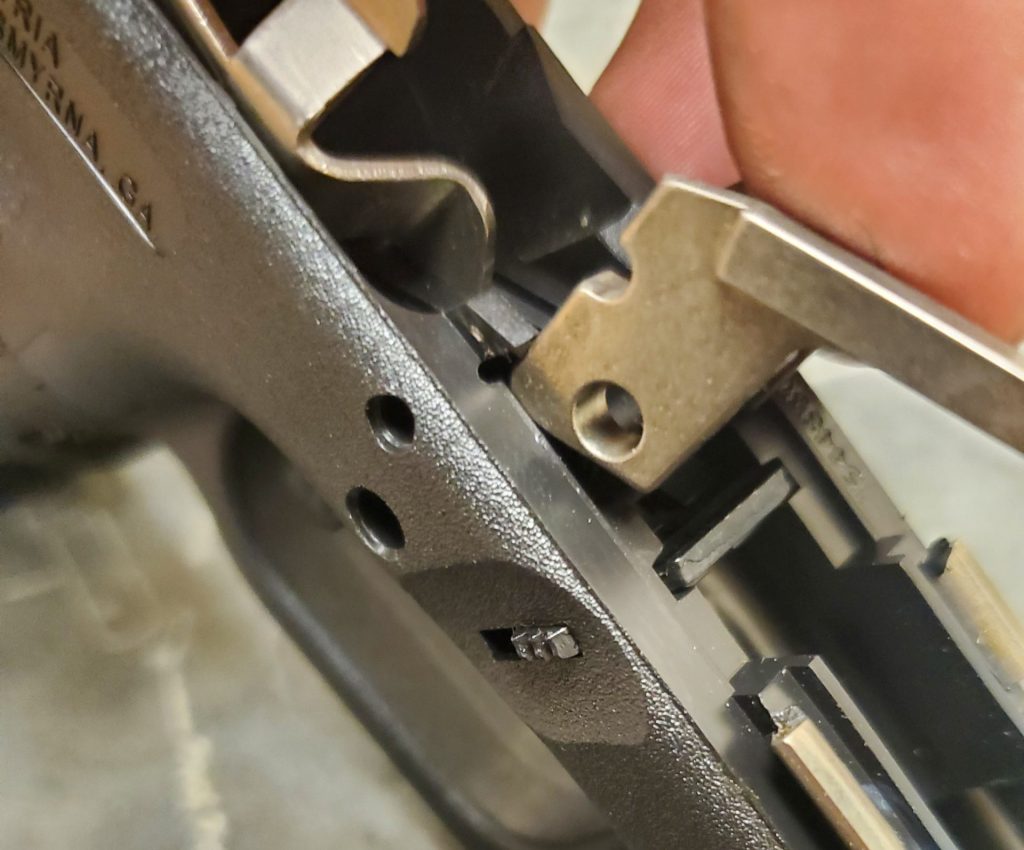
Start with the pin closest to the slide. This will open more range of motion for the slide catch.
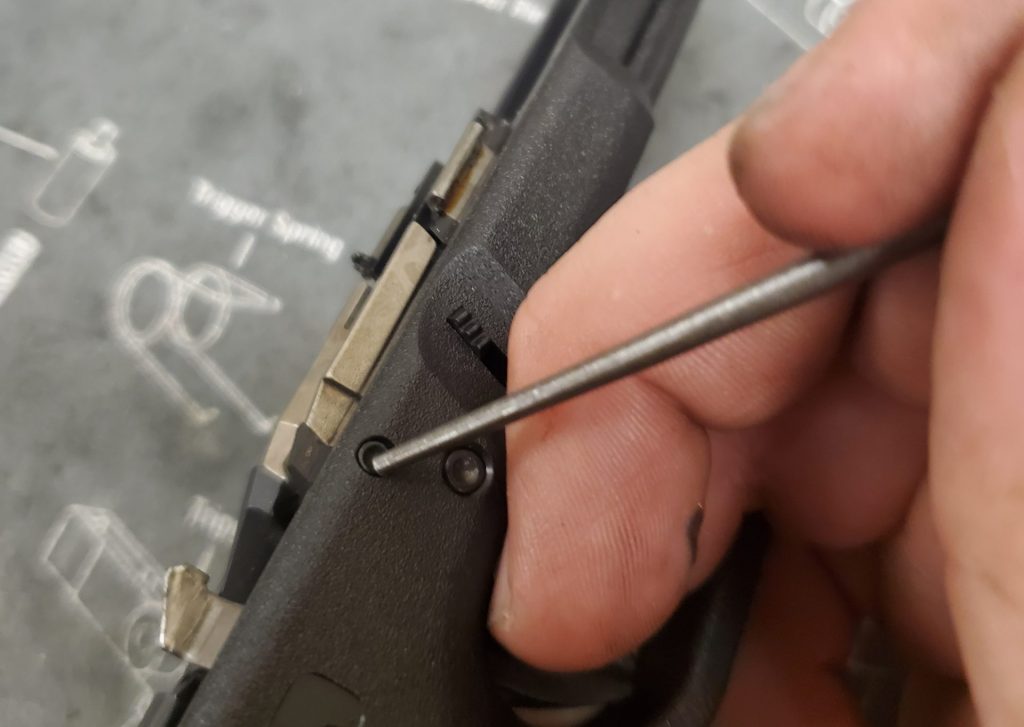
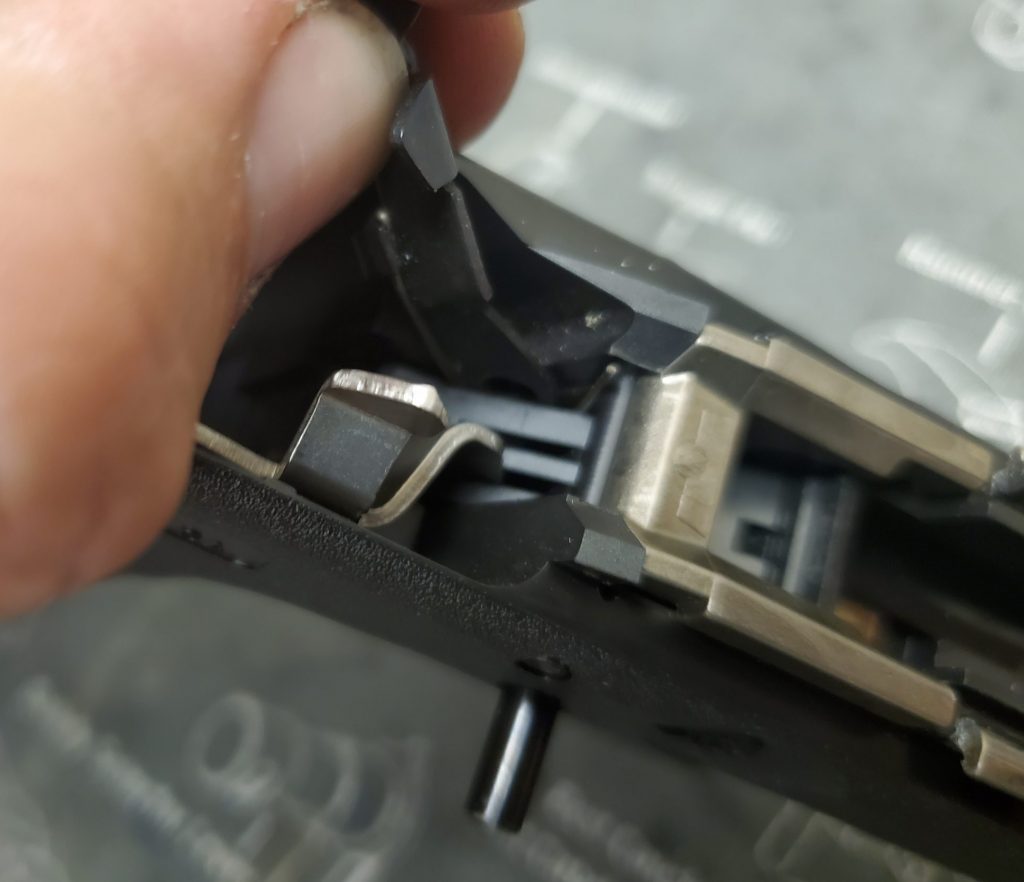
Remove the trigger pin by pushing from the right side of the frame to the left. After this pin is removed the slide catch should be removed as it is no longer held in place.
Pro Tip: By working the slide release and trigger bar you can release the trigger pin without the use of a hammer. This should save you some time and possibly damaged parts.
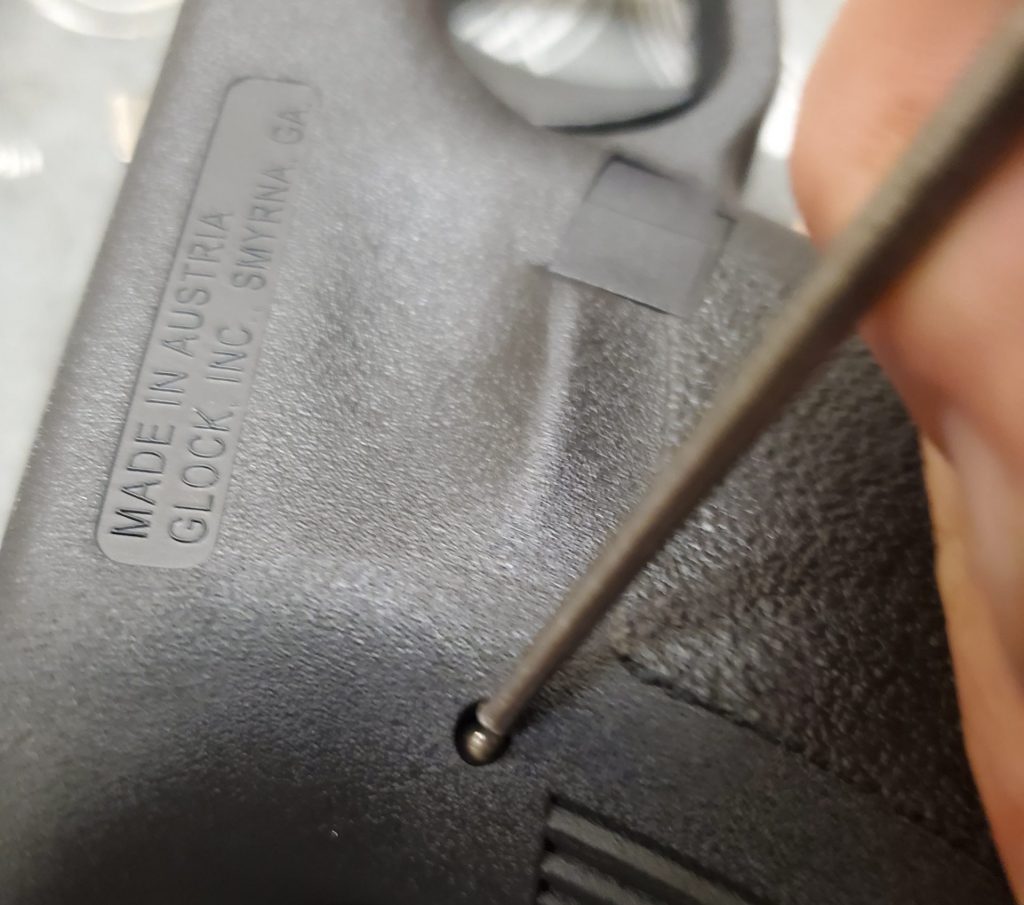
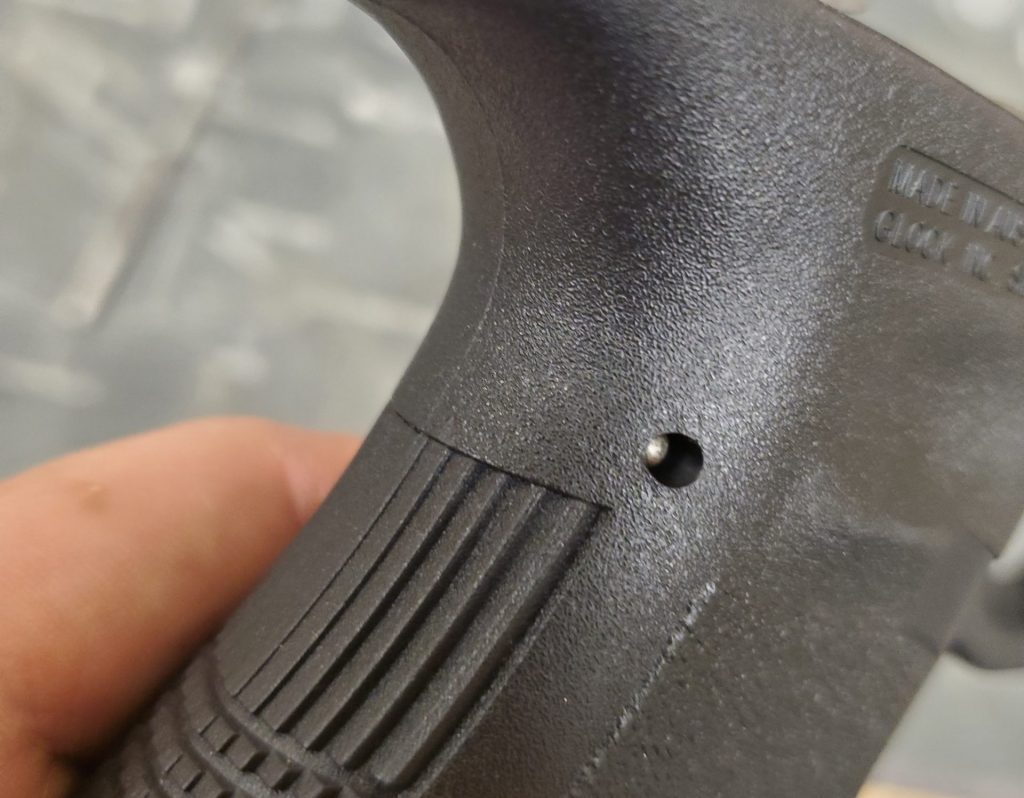
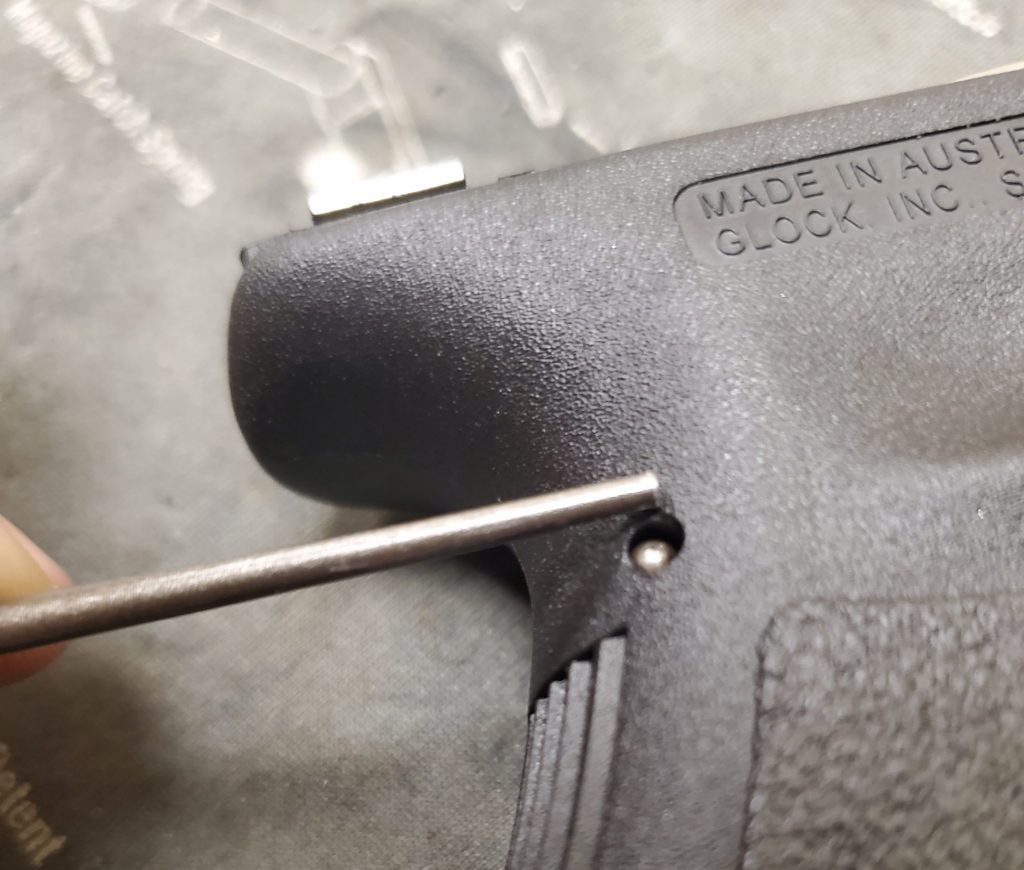
Push the grip pin out. Avoid having your hand over the pin on the other side. This pin may be tight and give quickly. It probably won’t be too bad but, it will hurt. Trust me on this.
Step 5: Block Removal
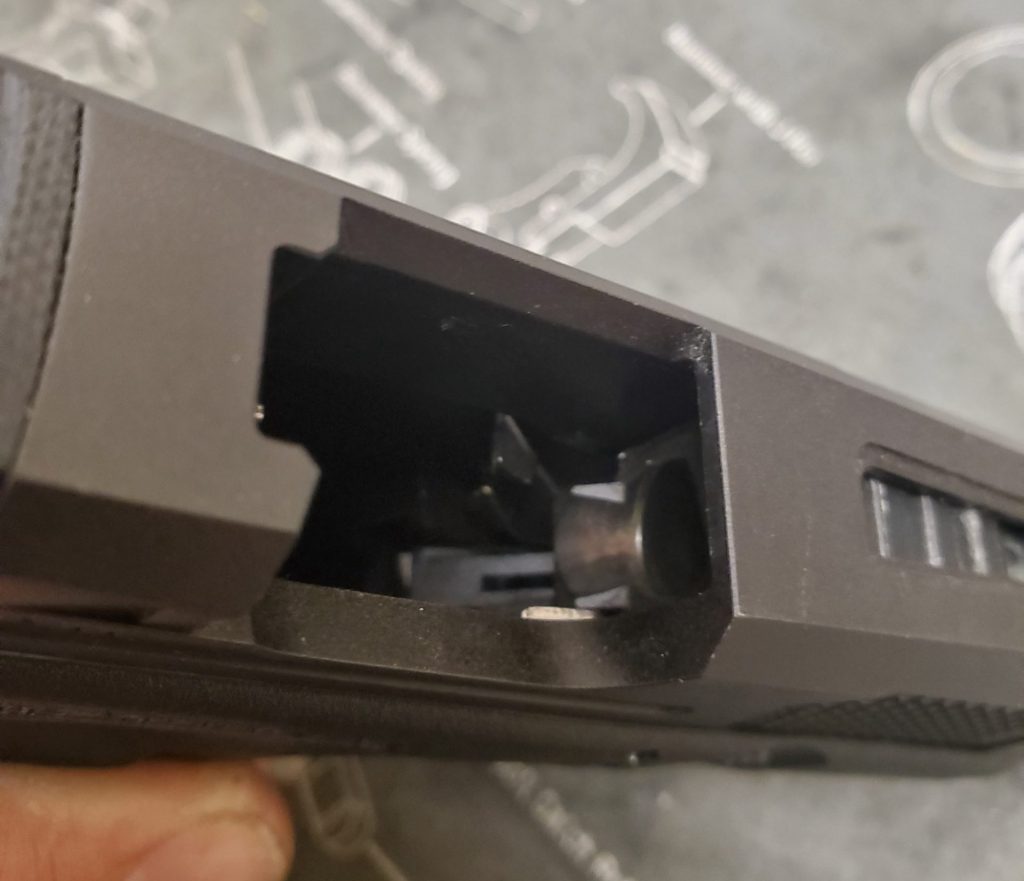
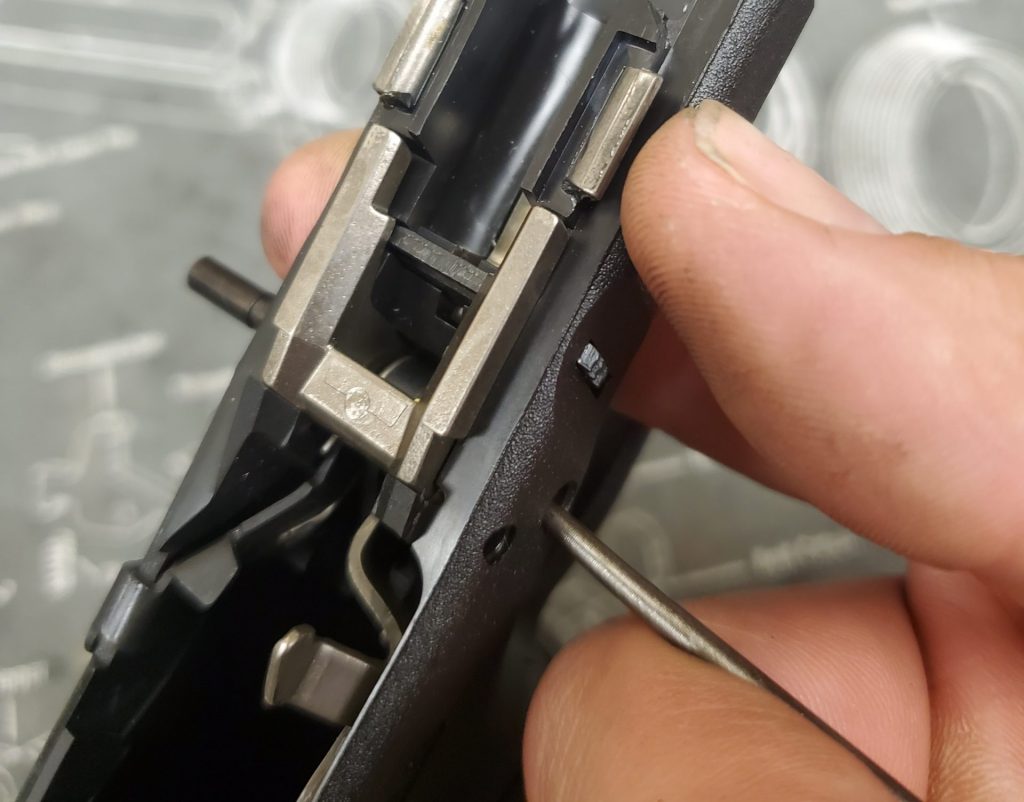
With all the pins removed, we can remove the block. The Block is the big metal bracket that goes over top of the trigger. This can usually be picked up from the front end with your fingernails. If not, you can use a pair of needle nose pliers if it is really in there.
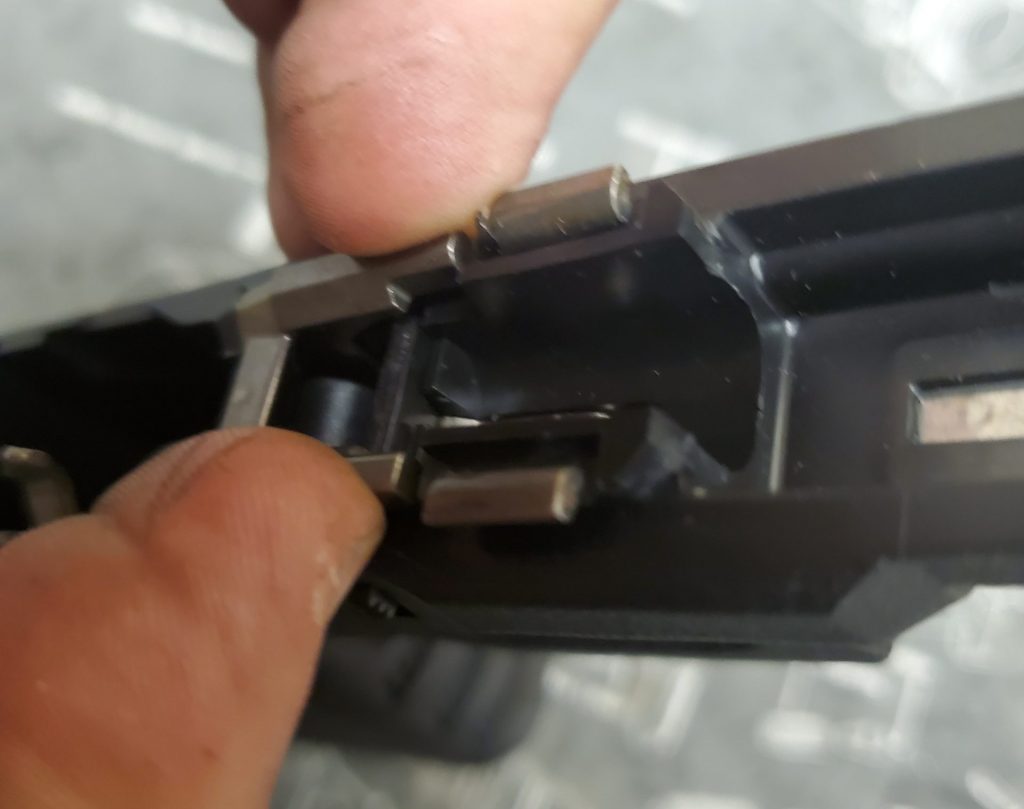
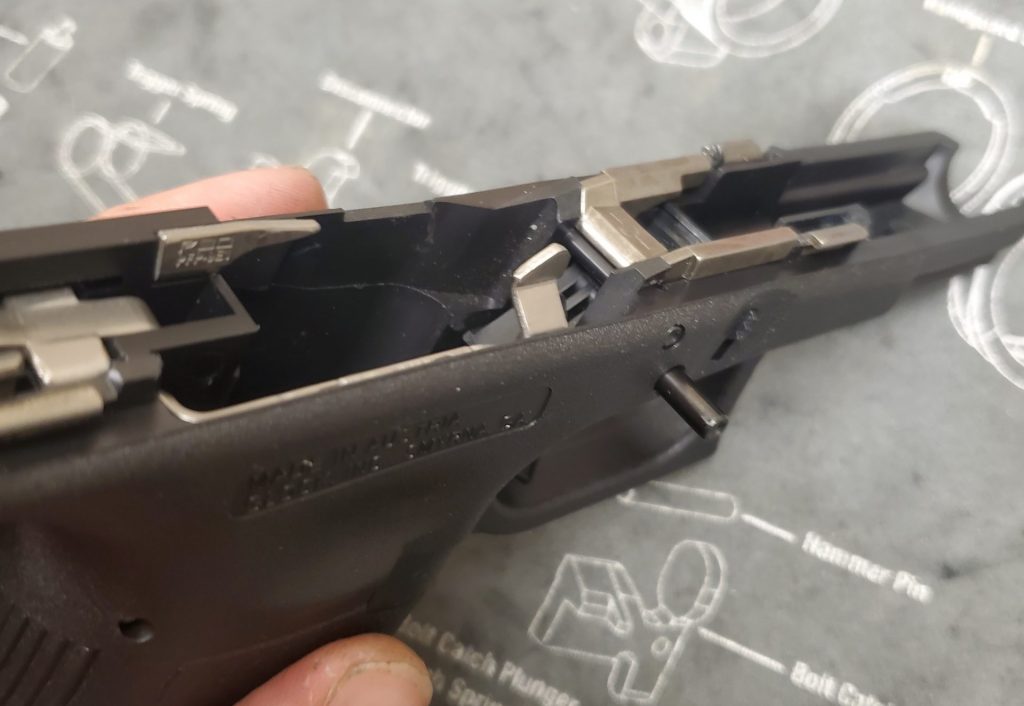
Step 6: Trigger and Rear Assembly Removal
Now that the block and pins have been removed, we can lift the trigger and rear assembly out of the frame. If the rear assembly is being stubborn, lift on the ejector. As soon as it starts to come out it is fee and can be removed with the trigger. Now that the internals are out take this time to thoroughly clean out your frame. This is not an area that is often cleaned and with everything out already it is the best time to get it done.
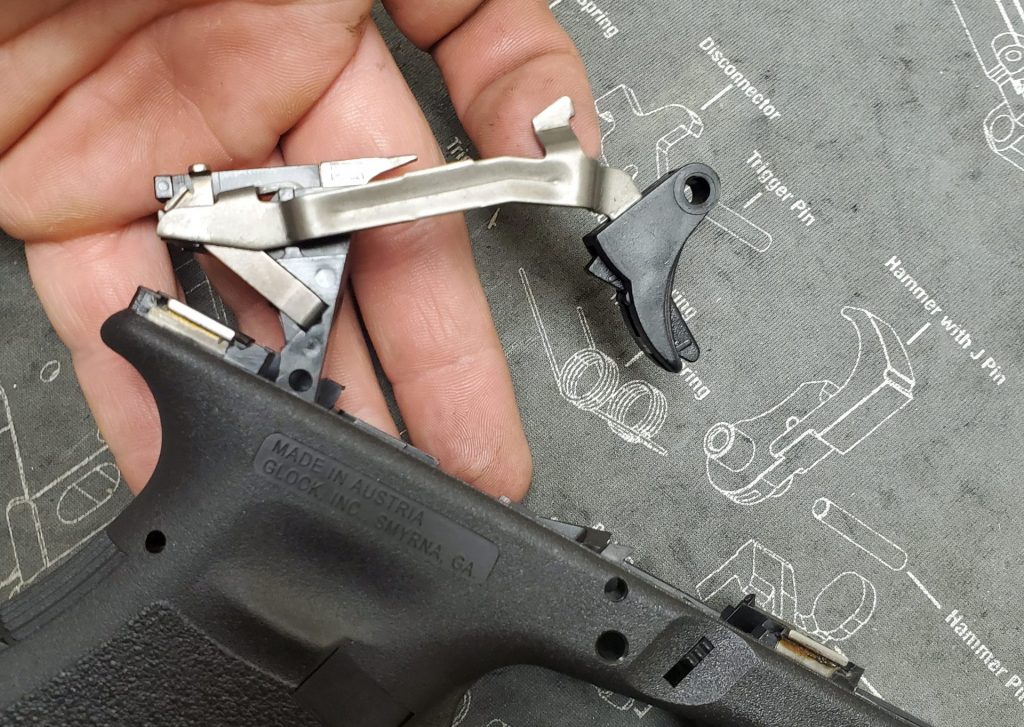
Step 7: Trigger and Disconnect Removal
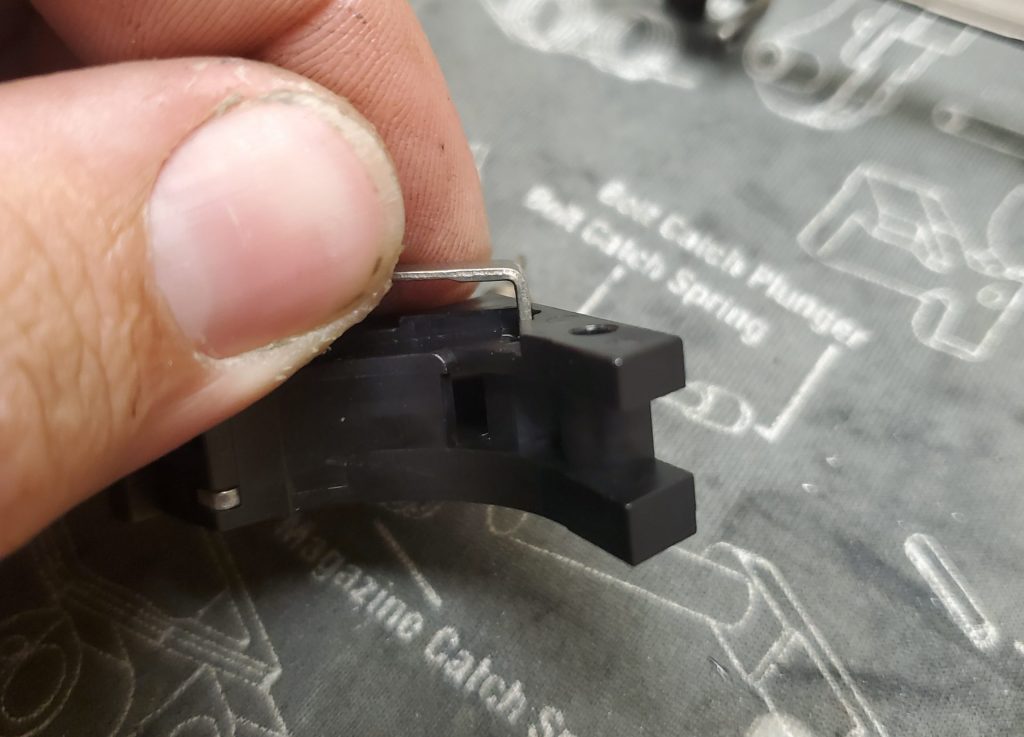
To remove the trigger bar from the rear housing simply twist and turn the trigger bar to clear the tab of the plastic channel it is in. From here you can flip the trigger over the housing and remove the spring that connect the bar to the housing. Depending on your kit you may have a new spring and disconnector. If you do replace them now.
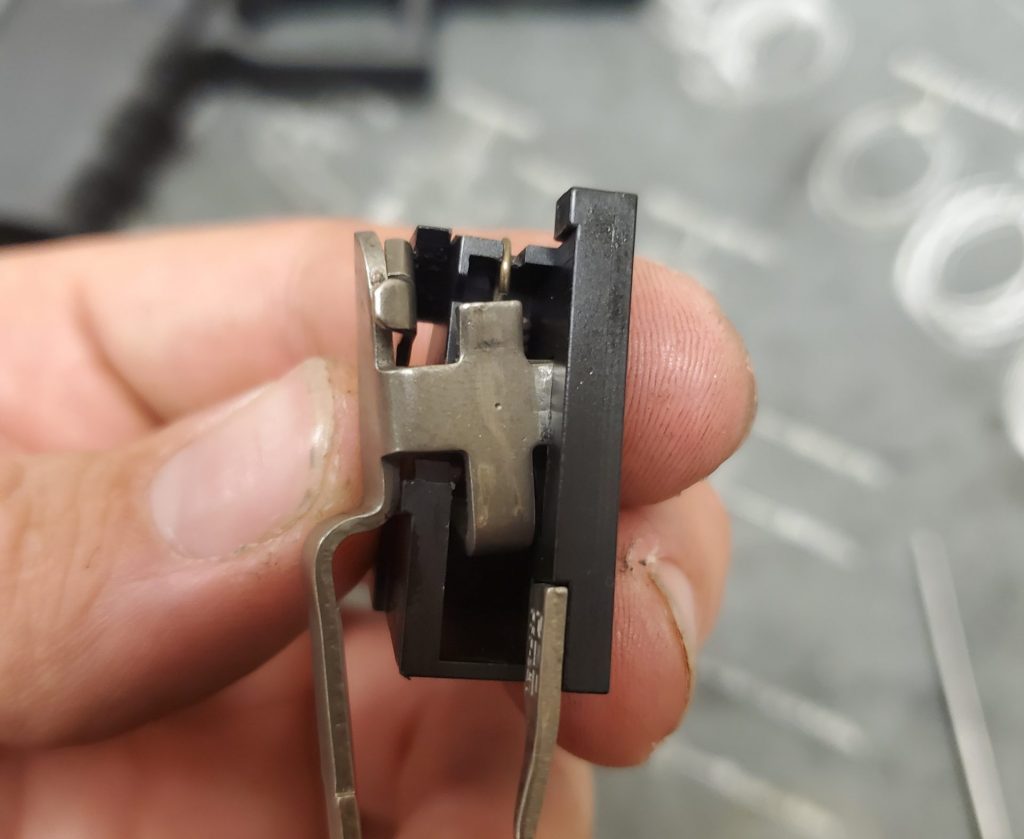
Remove the spring from the housing and simply pull up on the disconnector to remove it. If the disconnector is seized in place insert a wide flat head screwdriver into the space between the disconnector and housing and twist applying the upward pressure towards the bottom of the disconnector.
New Trigger Set

Step 8: Trigger and Disconnect Install
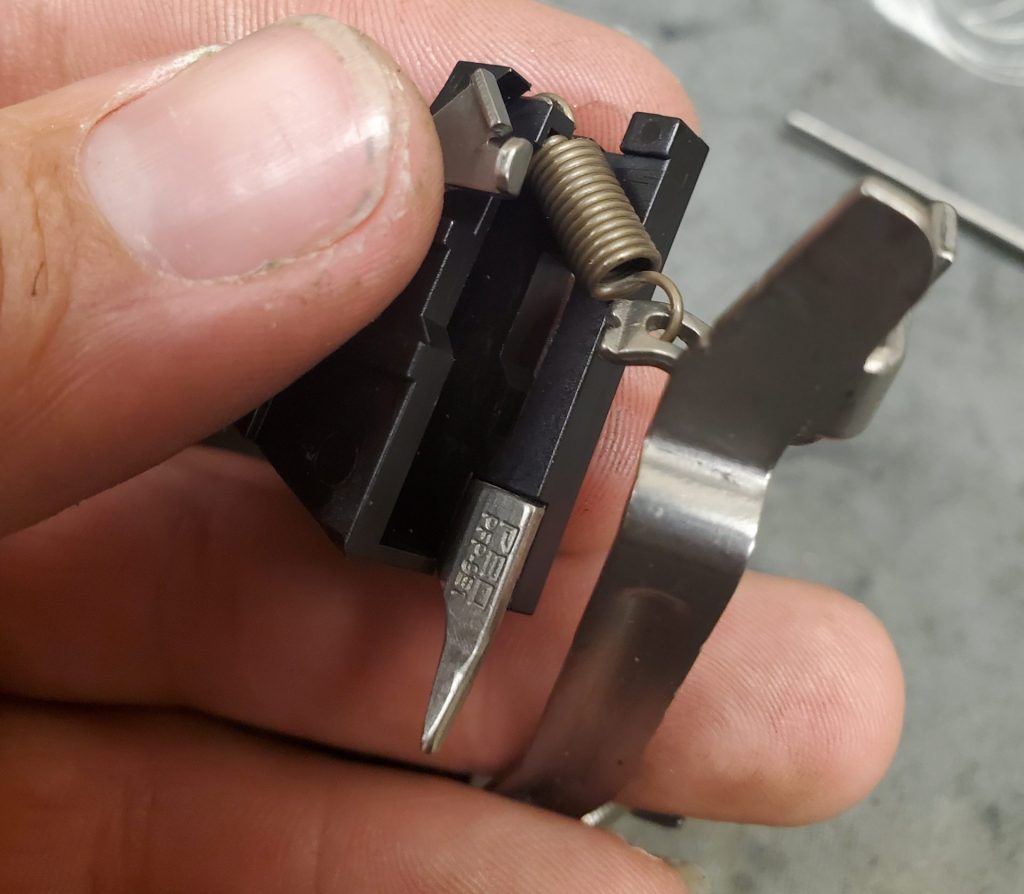
If you need to replace the disconnector do that by simply pushing the new one into the place of the old one. If you are replacing the spring simply hook it on to the back of the housing. Ensure the curl of the spring is inserted into the hole in the housing. Install the new trigger by attaching the spring and twisting and rolling the trigger bar back into the plastic channel.
Step 9: Trigger and Rear Assembly Install
Simply Slide the rear housing and trigger back into the frame ensuring both are seated properly.
Step 10: Block Install
Install the block back in its position. If you are unsure about the direction of the block, then it leans forward when the thick lugs are pointed down. If that doesn’t help, then don’t worry. It only goes in one way.
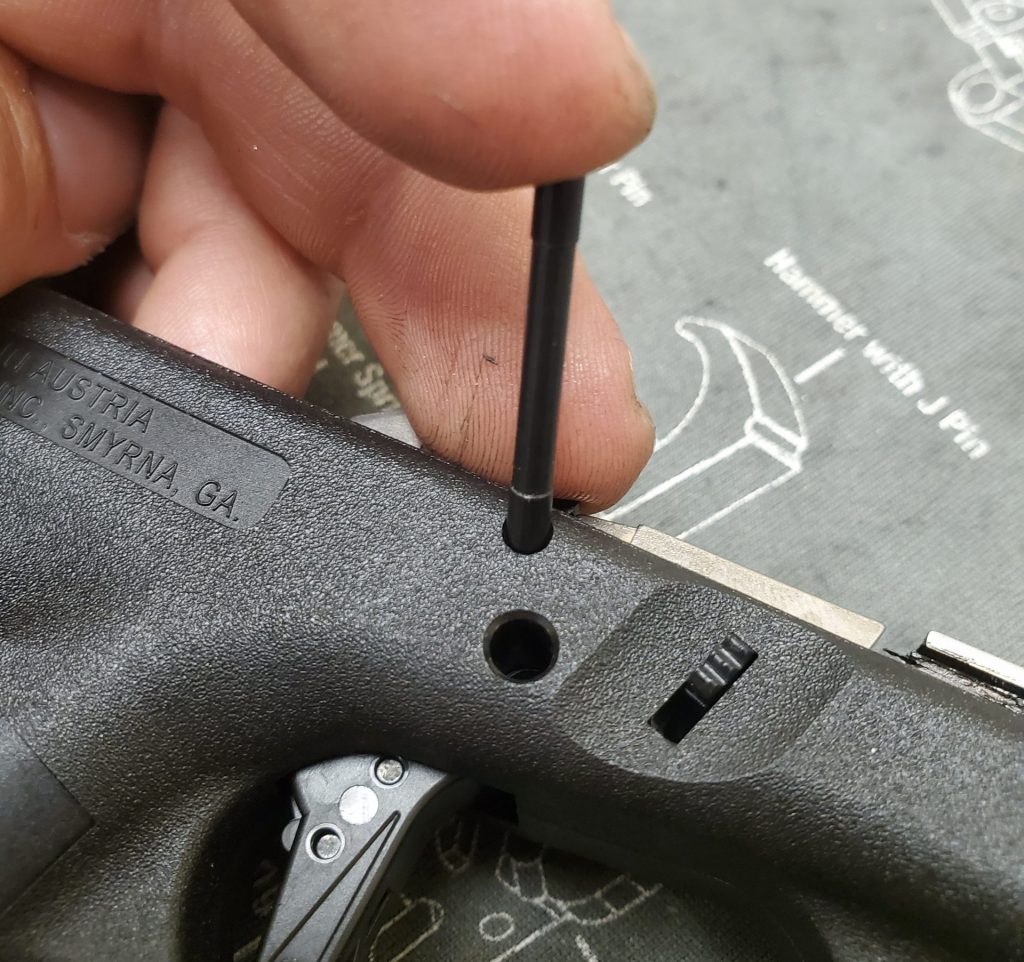
Step 11: Pin Install
Start with installing the grip pin. I prefer to do this now to make sure that I don’t get the pins mixed up. You should have a large pin, a short, skinny, smooth pin, and a pin that is skinny with ends wider than the center. The smooth pin is your rear pin it should also be the shortest of all the pins.
Next install the skinny pin that is wider on the ends. This pin goes into the top hole of the block. It is important to put this pin in before the trigger pin. If you do not do this pin first, then your slide catch won’t work correctly.
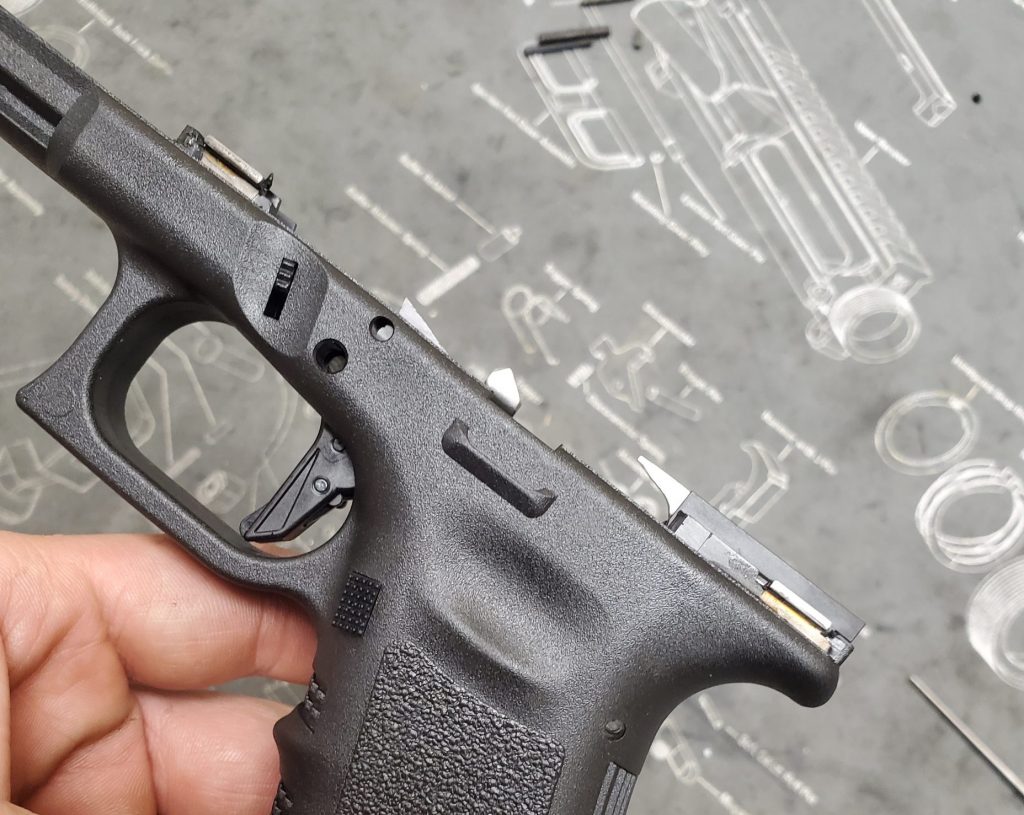
When installing the trigger pin ensure the trigger is lined up with the holes in the frame and insert the trigger pin from the right to the left. Stop about halfway in.
Insert the slide catch into its opening and push the trigger pin through the hole at the end of the slide catch and into the hole on the left side of the frame .
Pro Tip: Using the tip of your punch sideways against the pin is a good way to get the pins centered in the hole without having to fight too much.
Step 12: Slide Install
Place the slide on the forward rails.
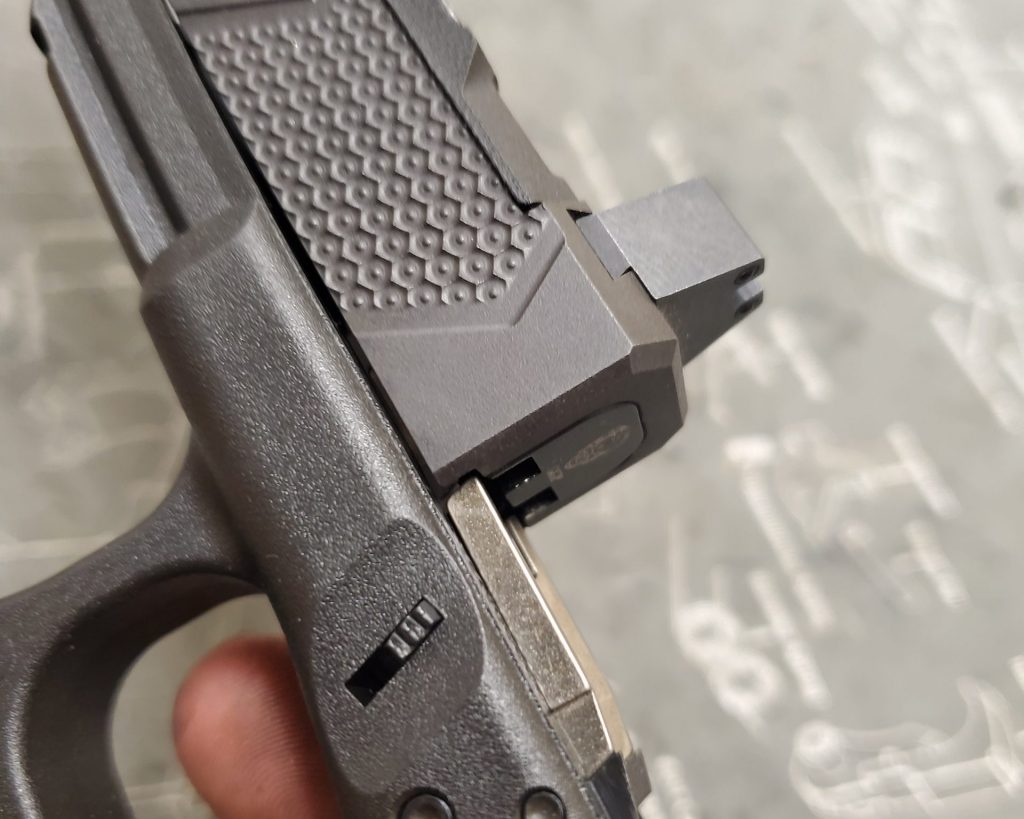
Then, pull the slide rearward and let the slide come forward. From this point do a functions check by pulling the trigger and listening for the striker to fall. While holding the trigger back, rack the slide and slowly release the trigger and listen for the reset click. At this point you can rack the slide and say you have swapped the trigger in your Glock yourself.